So, once again I'm trying the Dreamstress' Historical Sew Fortnightly challenge once again. As with last year, I'm not aiming for all of the challenges (or anywhere near all of them). Instead, I'm going to do ones that help me work on stuff I was going to make anyway and maybe the occasional small thing if a challenge sparks an idea. And I'm hoping I won't fall quite so badly off the bandwagon this year...
Challenge #1 of 2014 was 'Make do and Mend' and was due Weds 15th Jan. For this, I decided to finally finish my St. Birgitta's cap that has been sitting less than 30 mins from done for ... over 2 months. I finished on Mon (13th) but I haven't had a chance to get some natural light for photographing until today.
Another alteration I made was to reverse the order of stitching when applying the band to the front of the cap. The original band was (apparently) first sewn onto the inside of the cap using a running stitch, then folded around the raw edge of the front and whipped down on the outside of the cap leaving the running stitches from the first seam visible. Like several other people making reproductions, the idea of this was Just. Too. Ugly. I reversed it, so that band was first sewn with running stitches to the outside, resulting in the running stitches still being visible when finished, but on the inside.
 |
| Without cap, showing bun size. |
 |
| With cap. |
 |
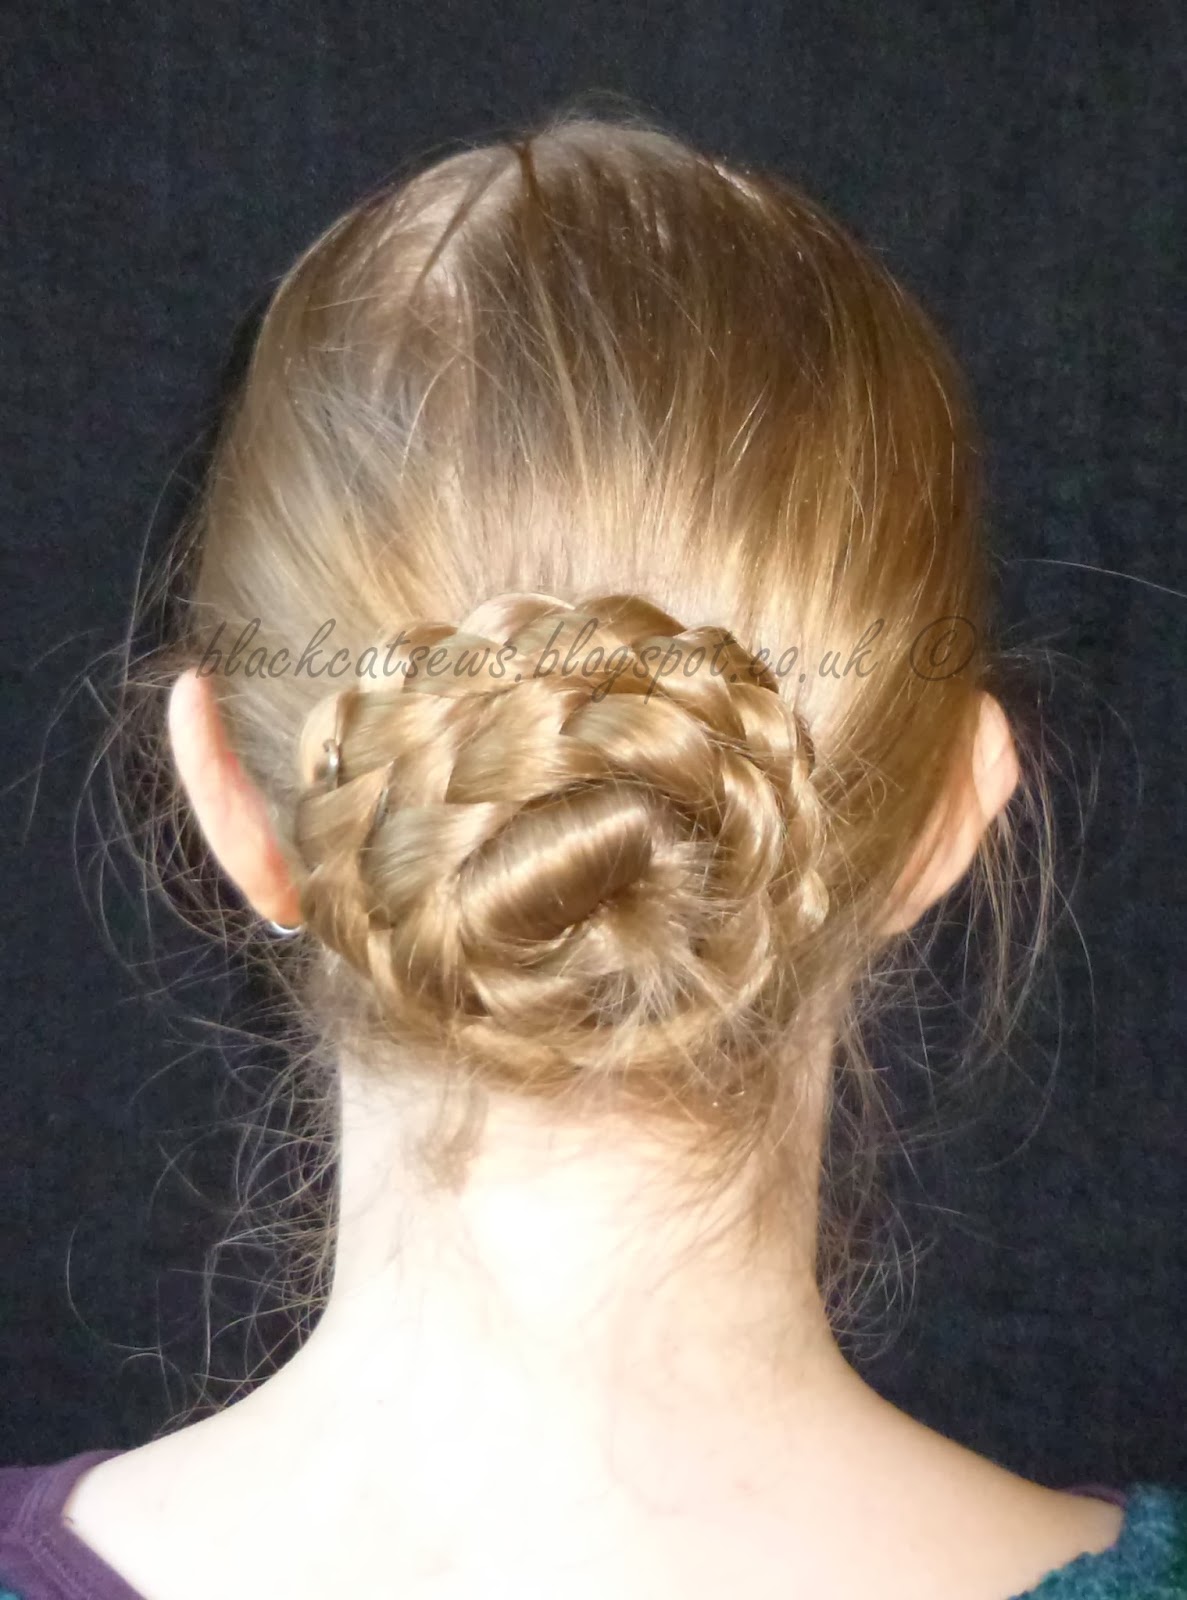
| From behind, showing bun size. (Please excuse the cowlick and fuzz!) |
 |
| Cap from back. |
 |
| Cap from front, showing crossover of the loop tie. It's not sitting *quite* right as my bun today is higher than usual. |
 |
| Showing the back split and its tiny (1/8th inch) hem. |
 |
| Whole cap, showing loop length. |
 |
| Detail of the pleats. These consist of the entire base of the original rectangle and are held in place with two lines of running stitches. |
 |
| Detail of the applied front band from the inside, showing the whipped down band and the visible running stitches. |
As you can see, there is a bit of a funny bump at the crown of the head. This is from not making a large enough curve at the crown of the cap. I'm hoping it'll flatten down with washing, as the linen is very stiff currently. If not, I'll unpick that bit and increase the curve.
So, how does this come under 'Make do and Mend'? Well, two things:
- I technically mended it to finish it. I "finished" it months ago, but found that the loop tie was 2" too long. I've been procrastinating about mending/correcting it ever since...
- It is made from off-cuts. The body of the cap is made from just about the last offcut of my beloved purported Irish linen. The loop tie is made from the same linen, but pieced from scraps left from when I shortened the hem of my shift.
So, here's the breakdown...
The Challenge: #1, Make do and Mend
Fabric: None for the challenge. (For the cap, offcuts of beautiful, unobtainable, probably proper not chopped-up-to-spin-with-cotton-machinery linen, purportedly real Irish stuff.)
Pattern: None for the challenge. (For the cap, altered from the measurements in: Dahl CL & Sturtewagen I, 2008. The Cap of St. Birgitta. Medieval Textiles and Clothing, vol. IV, p. 99-129.)
Year: For use c. 1370, but good for about 1250-1450.
Notions: Linen thread, beeswax.
How historically accurate is it? About as good as I can get without seeing the cap in person. I think my alterations are reasonable (although the bump shape on the crown needs fixing one way or another as it does not give a very authentic silhouette).
Hours to complete: Lots. But the mending/finishing took under 30 mins.
First worn: About a minute after finishing, to check it fit.
Total cost: Nada, as it's all from offcuts and thread/wax I already have. New, it'd cost under £5 in material, but lots more than that in time...
This is beautiful - sometimes the simplest things are. Thank you for posting in detail - small accessories like this finish a look so well.
ReplyDeleteThank you for reading and for the lovely compliments. ^_^
Delete